How to Create Windows 11 Installation Media Before Switching to Linux
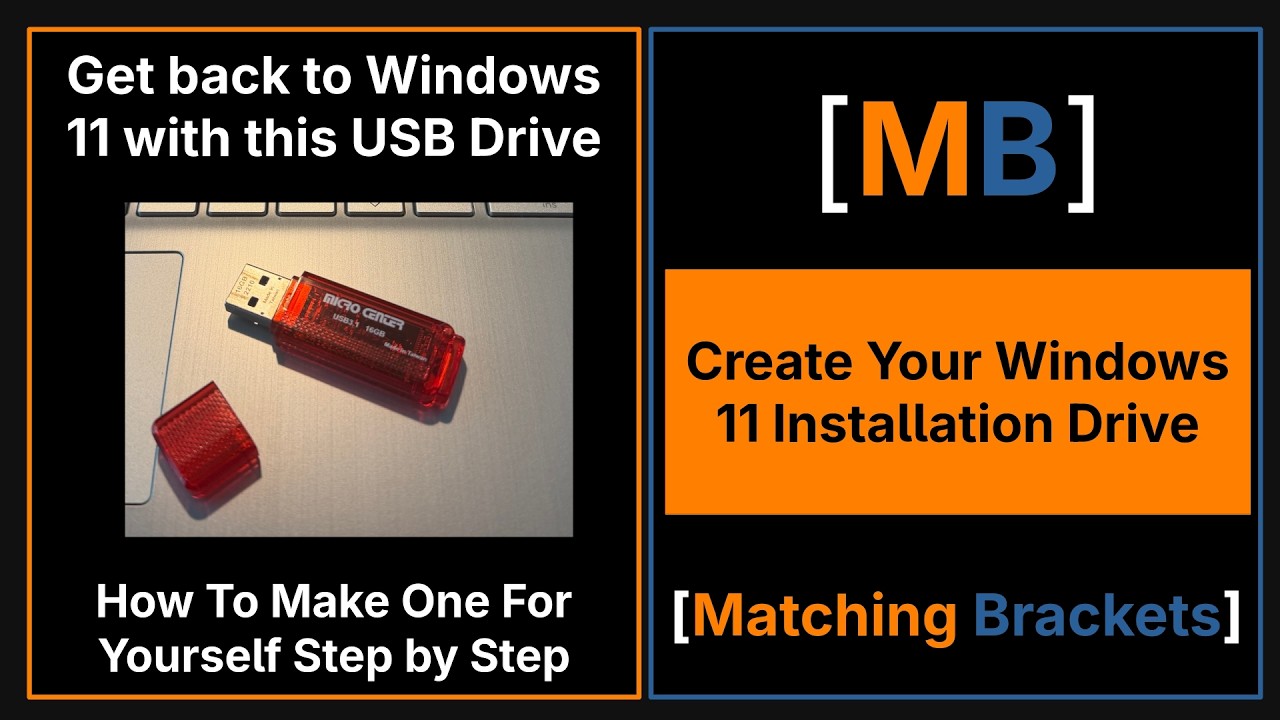
If you’re thinking about switching to Linux but you’re worried about getting stuck with something that you don’t like, create a Windows Installation USB Flash Drive before you make the switch gives you a way to get back to Windows.
One of the biggest obstacles people have when it comes to switching to Linux is thinking, “What if I don’t like Linux? How do I get back to Windows?” Well, the obvious thing to do is to have a way to get back to Windows.
And that’s what we’re going to do together today. We’re going to create a Windows Installation Media USB Flash Drive together. And while you’re exploring Linux, you find that you don’t like it as much as you thought you would, you now have a way to get back to Windows.
Let’s set ourselves up for success by creating this Windows Installation Media USB Flash Drive together. Let’s also, be realistic. Linux isn’t for everybody. You have to be willing to learn something completely new, and you have to be willing to give up those Windows things that you’ve become used to.
I can sit here and tell you how much that I love Linux, but the only way to know if you’re going to like Linux is for you to try it out for yourself. There’s no other way to find out. So, let’s do this the smart way. Let’s make a way for you to get back to Windows.
Before actually installing Linux, while you still have Windows on your computer, this is the perfect time to create this Windows Installation Media USB Flash Drive. If you’ve already made the switch, then you can always borrow another Windows computer to make the Windows Installation Media USB Flash Drive.
It’s a great utility to have, even if you find that you never use it. I still have mine, and I can tell you that I have no intentions of ever going back to Windows. But having it can provide a lot of piece of mind.
Things To Do Before You Switch To Linux
MAKE THE WINDOWS INSTALLATION MEDIA USB FLASH DRIVE: While you still have Windows installed on your computer, now is a great time to make the Windows Installation Media USB Flash Drive. If it’s too late, and you’ve already made the move to Linux, that’s okay. You can always borrow another Windows computer to make the Windows Installation Media USB Flash Drive.
BACK UP YOUR FILES: It’s always a good idea to back up your files. Having a backup means that your files will live on your computer, but they will also live on either a different USB Flash Drive or an External Hard Drive depending on how many files you actually have to backup. When you switch to Linux, you may wind up erasing your computer’s internal hard drive, which means that you’ll wipe out your files. So, be safe and not sorry and take the time to back up your files.
Back up anything you don’t want to lose, including documents, pictures, videos, music, important downloads, browser data you need like bookmarks, and anything else that you cannot easily replace. Whatever it is, if it’s important to you, include it in the backup.
What You’re Going To Need
(2) USB FLASH DRIVES: Switching to Linux is going to require (2) dedicated USB Flash Drives 16GB or larger. But 16GB USB Flash Drives would work perfectly. You’ll need one USB Flash Drive for your Linux Live Environment USB Flash Drive, that you use to test your computer’s hardware while in Linux to make sure that it all works well. And another USB Flash Drive for the Windows Installation Media.
Note: When you make the Linux Live Environment Drive, and the Windows Installation Media Drive, the entire USB is going to be wiped of it’s data. Any important data on those USB drives you should move somewhere else.
By “dedicated” I mean that once these USB Flash Drives are made, it’s a good idea to save these away for safe keeping. You may never need these drives, but if you do, you’ll have them prepared and ready for you to do your troubleshooting.
COMPUTER: Yes, you’re going to need a computer in order to install Linux on. You’re also going to want to create your Windows Installation Media USB Flash Drive while your computer still has Windows on it. If you’ve already put Linux on your computer, you can always borrow another computer to make the Windows Installation Media.
YOUR COMPUTER’S BOOT MENU KEY: You’ll need to know how to access your computer’s Boot Menu when you’re ready to boot into the Linux Live Environment, or you want to reinstall Windows. Each computer manufacturer has designated a special key on the keyboard to press at start up to bring you to the boot menu. Each one is different.
So, you’ll want to search for which key works on your computer. Do a search for “Boot Key for (your computer’s manufacturer here).” For example, I would put “Boot Key for Dell.”
Once you have these things, you’re ready to get started.
Download Windows 11 Installation Media
Open up your browser of choice and go to Microsoft’s Download Windows 11 page at https://www.microsoft.com/en-us/software-download/windows11.
Scroll down to the section that says, “Create Windows 11 Installation Media.”
You’ll want to take the time to read all the information underneath the title, especially the section titled, “Before you begin using the media creation tool.” Open that section up by clicking on it, and make sure that your computer meets all the requirements listed, especially those requirements for Windows 11.
Once you’re satisfied that you meet all the requirements, click on the blue “Download Now” button.
The download is pretty quick and will probably take no time to happen.
Before you go to click the app open, go ahead and insert the USB Flash Drive that you’re going to use for your Windows Installation Media.
Microsoft may change the appearance of this website or update the Media Creation Tool over time. If the page looks different from the screenshots in my video, don’t be alarmed. The important this is to locate Microsoft’s official Windows Installation Media download.
Create The USB Installation Media
Make sure that you have the USB Flash Drive that you want to use for your Windows Installation Media plugged into your computer.
Go ahead an open the file that you just downloaded.
You’ll answer a series of questions, and you’ll be asked to identify your USB Flash Drive that you inserted earlier.
NOTE: Your USB Flash Drive will be wiped out in order to create the Windows Installation Media, so make sure that you’ve moved any important files.
This process might take some time, so make sure that you can spare about 10-20 minutes. In the accompanying video, I show you in real time how long it took my to create the Windows Installation Media USB Flash Drive, but your mileage may vary.
You Now Have A Windows Safety Net
At this point, you now have something extremely helpful while you’re exploring Linux. You have a way to get back to Windows. You can now install Linux knowing that you have a way to get back in case you change your mind later.
That doesn’t mean that you have to go back. It’s just there if you need it.
It means that trying Linux isn’t so permanent.
If You Decide To Go Back To Windows
STEP 1: Back up your data. Now, if you haven’t touched your backup since you made it from when your computer had Windows, then you don’t have to worry about a backup. If the data is still on your drive, then you can put it back into Windows once it’s installed. I don’t know when you’re moving back to Windows. If it’s immediately after installing Linux, then you might not have made any changes to your files at all meaning they’re exactly the same as they were when they were on Windows.
STEP 2: Insert your Windows Installation Media Drive: Pop your new drive into your computer.
STEP 3: Remember your Boot Menu Key? If not, here’s a chance to look it up before you restart your computer. Search for “Boot Menu for (your computer)”.
STEP 4: Restart Your Computer: Restart your computer, and when it’s starting up again, be sure to mash that Boot Menu key so you can boot into your Windows Installation USB Flash Drive.
In the accompanying video, I go through a complete Windows Installation from my Windows Installation Media USB Drive if you’d like to see what it’s all about.
STEP 5: Install and Set Up Windows: Install Windows and set it up just the way that you like it. Go ahead and move your files back into their respective folders.
Quick Reference
BEFORE SWITCHING TO LINUX
• Back up your important files • Obtain a dedicated USB Flash Drive • Make sure the USB is free of any important files • Create your Windows Installation Media USB Flash Drive • Label and store the USB somewhere safe • Find your computer’s special Boot Menu key.
IF YOU NEED TO RETURN TO WINDOWS
• Back up your files on Linux (if necessary) • Insert the Windows Installation Media USB Flash Drive • Restart the computer • On restart press your Boot Menu key • Select the USB Flash Drive • Start installing windows • Set windows up • Restore your files • Reinstall your applications
Prefer to watch instead?
I’ve made a step-by-step videos showing the entire process.
Related Matching Brackets Content
- Dual-Booting Linux Mint and Windows Together on one Computer
- Installing Linux Mint on my Computer
- How to Choose a Linux Distribution
- Testing Linux Before Installing it
- How to Back Up Your Computer Before Installing Linux
That's going to be all from me for today. Until next time, take care.
Comments